Sandbox Tips and Tricks
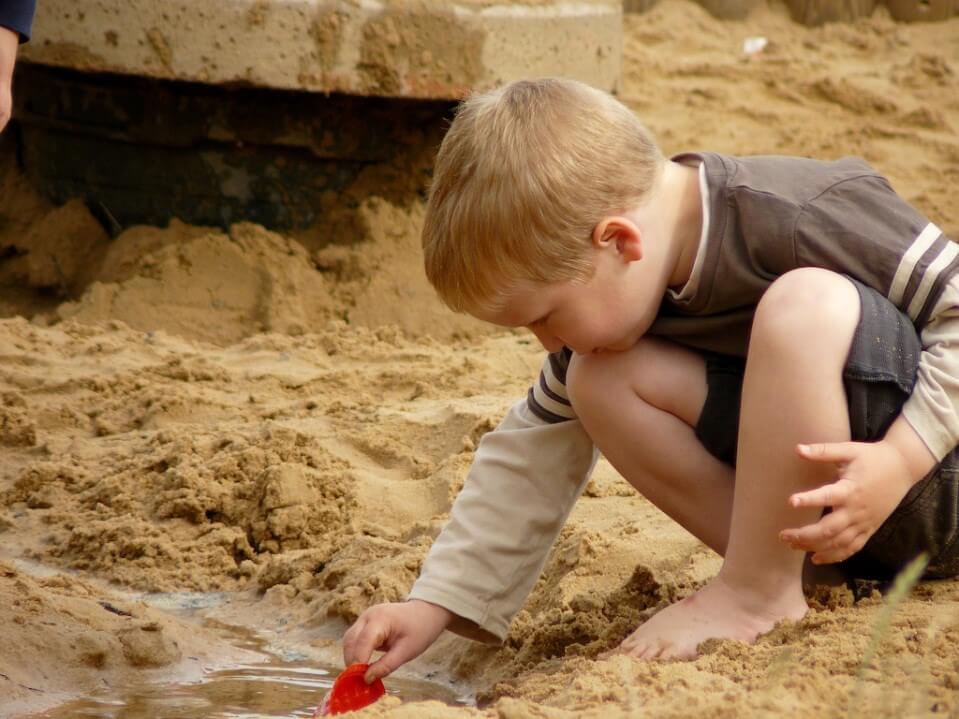
Children have always found sand play fascinating. Whether they’re running barefoot on the beach or experimenting with a sand and water unit in a friend’s garden, hours of entertainment are guaranteed. Sand play is one of the best forms of sensory play because it encourages creativity and hands-on learning, prompting children to explore the world around them. Here at Garden Play, we believe sand pits provide a vital learning experience for little ones. This summer, why not transform your child’s sandpit from ordinary to extraordinary and create a magical space that inspires imaginative play? With just a few basic materials, you can set up some really inviting areas and activities in your sandbox, making it a versatile area for lots of fun and learning. Here’s a few of our easy and inexpensive ideas.
-
Add seating and a workspace
There are many simple alterations that can be made using just a plank of wood. By placing a plank across the width of the sand box, you can create a divider or a workbench. This can be used for keeping buckets, spades and other tools on, driving toy cars along or building castles on – the possibilities are endless. If the plank is strong and secure enough then it can also be used as a seat for a toddler.
-
Ramps
Once you’ve fitted the main plank of wood, you could provide your children with a few shorter boards, which they can move around and use and ramps for their toy cars. Ramps are great toys for teaching children about basic scientific principles such as gravity.
-
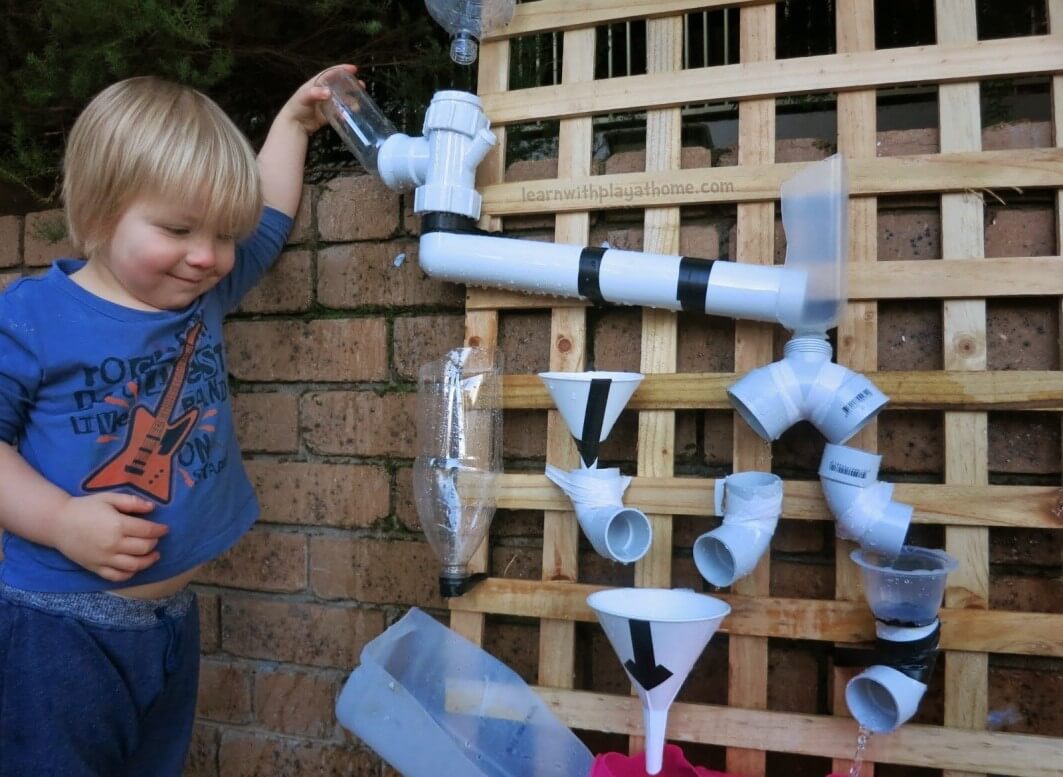
Sand Wall
Another quick invention that will really fascinate young minds is a sand wall. Children pour sand into containers or funnels that have been attached to a fence or wall, and watch it filter down through the containers below. Simply nail a scrap piece of lattice to your playhouse or sandbox. Then, cut the bottoms off a few plastic bottles and containers of different shapes and sizes. You can attach them to the lattice with zip ties, florist wire or large twist ties and then your sand wall is ready for use!
-
Kitchen counter/oven
Children love to bring their plastic kitchen sets in to the sandpit with them. If you have an old bench or coffee table, then why not get creative and turn it in to an ‘oven’ for their games of house? Simply attach another shelf underneath so that children can use it for making ‘sand cakes’ and ‘mud pies’.
-
Easy toy storage
Make clean-up in the sandpit a lot easier by installing a mesh container in one corner to store buckets, spades and toy trucks at the end of the play session. Because of the mesh material, any loose sand will fall off the toys and through the gaps, back in to the sandpit. To store the rest of the sandbox toys, you could purchase some metal planters and nail the around the sides of the sandpit. Again, choose a design that allows sand, water and debris to drain from toys.
-
Introduce natural elements
When it comes to playground and sandbox toys, children prefer ‘the real thing’ over plastic items. Where you can, try to replace plastic sand toys with old wood, metal tin and enamel pieces from your home. Items such as wooden spoons and pots and pans are a lot more durable and aesthetically pleasing for children. Rocks, logs and stones are great for encouraging open-ended, imaginative play. You’ll be surprised by how resourcefully children can incorporate items such as conkers and pine cones in to their games too.
As you’ve seen, creating a sensory play space for children doesn’t have to be costly or complicated. These sandbox ideas are very easy to implement, and all you’ll need is a few charity shop purchases and repurposed items. We hope that these tips and tips will be useful in taking your sandbox to the next level. It won’t be long before you’ve created a fantastic space for your child to spend their summer in and show off to their friends.
